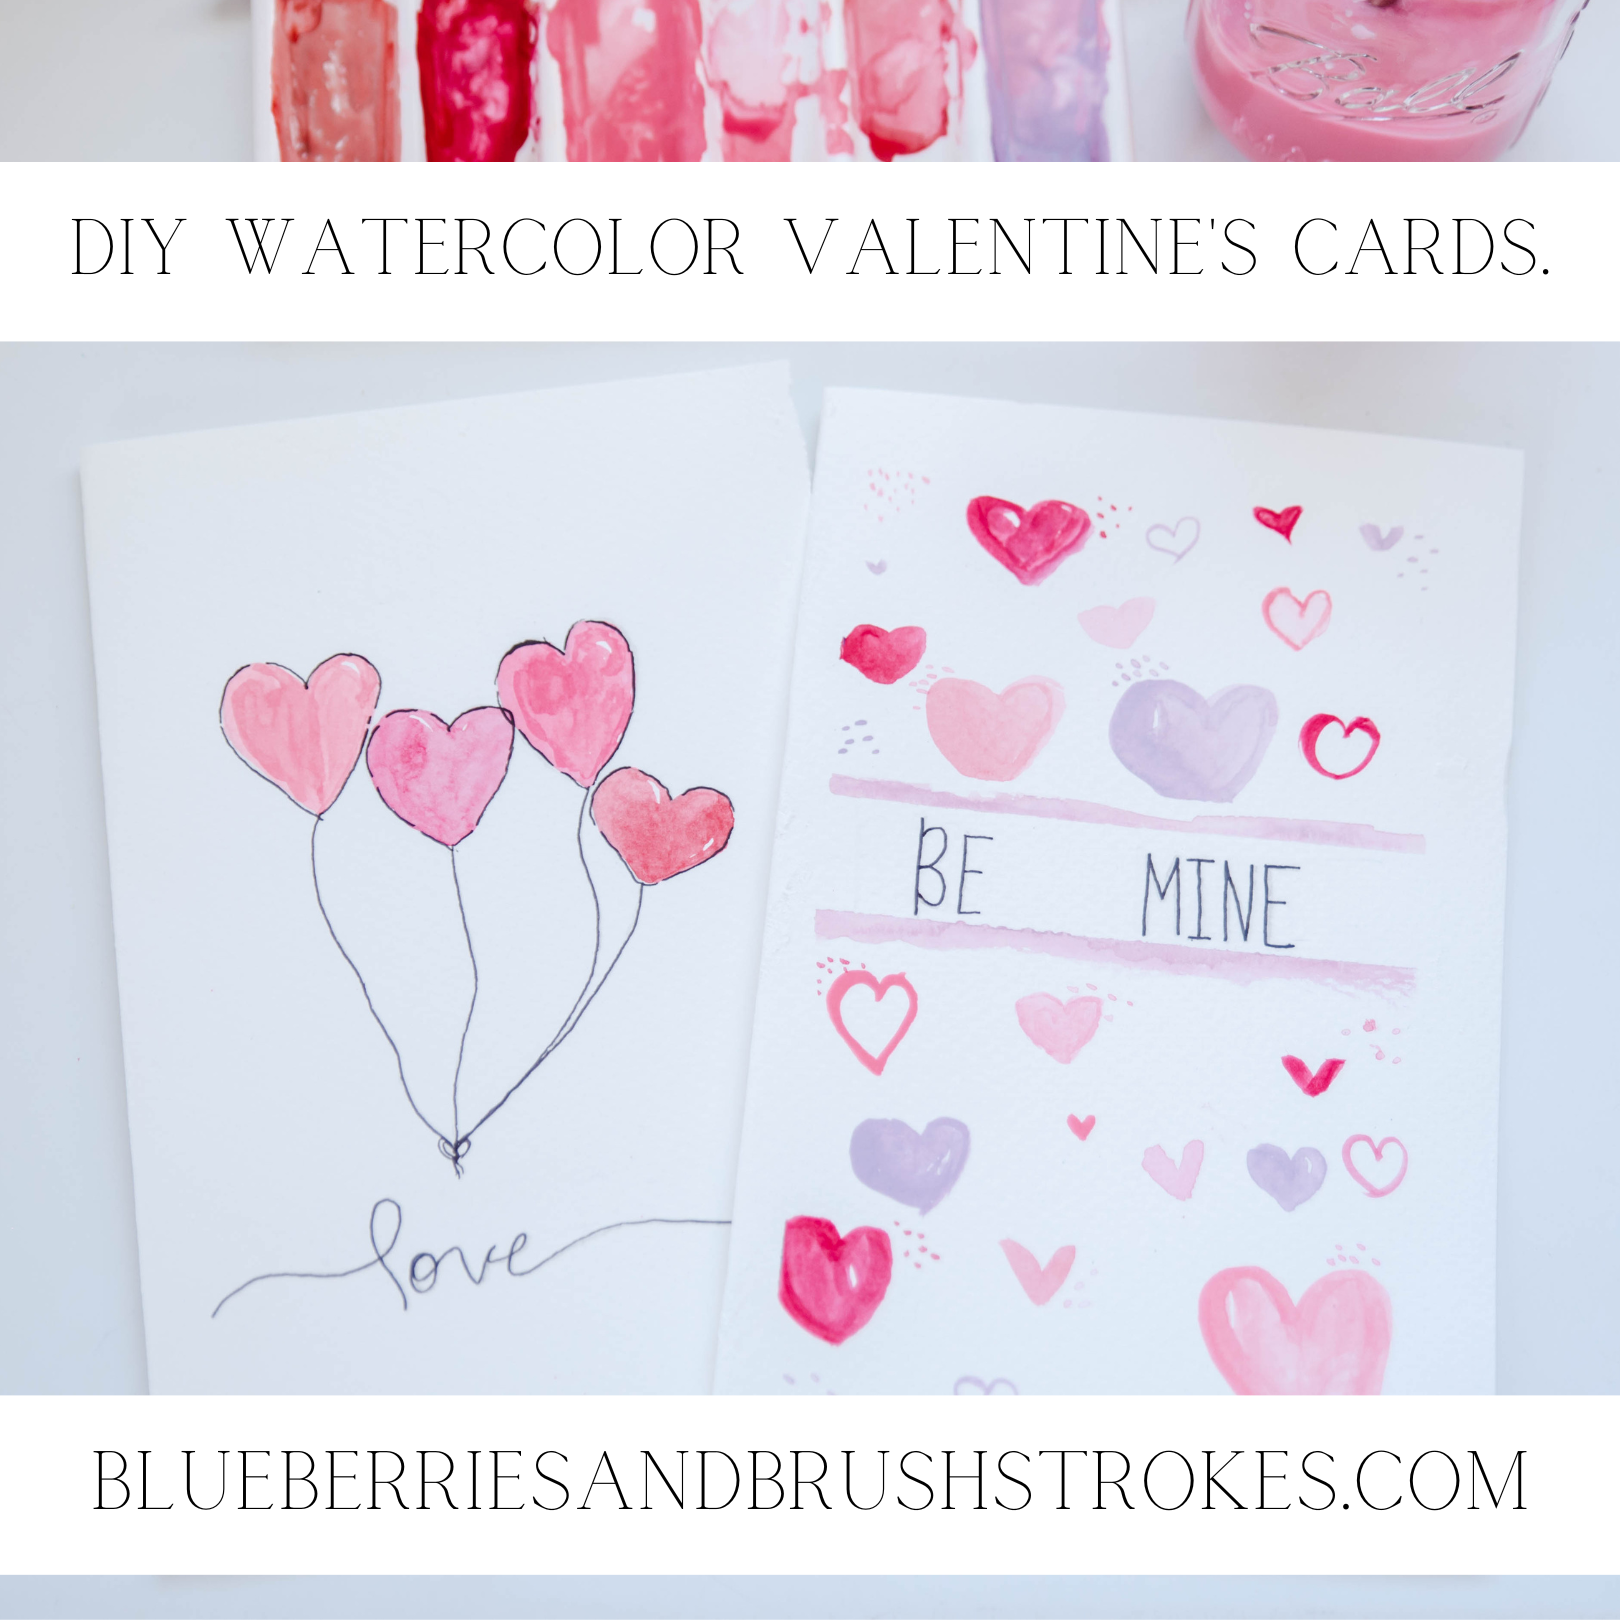
DIY Watercolor Valentines Day Cards.
With Valentine’s Day coming up, I am so excited to share these card ideas with you. We all know that things are always a little sweeter when they are homemade. Nothing makes me feel more loved than knowing someone took their time to create something for me. I love that homemade gifts are starting to become more popular. I’m going to show you two super easy DIY watercolor Valentine’s Day cards that anyone can paint. Even if you do not consider yourself artistic, these should be a walk in the park for you.
Supplies.

First things first, there are a few supplies you will need. When it comes to art supplies you can spend as much or as little as you would like. If you are a beginner, and do not want invest a lot of money into supplies, there are a lot of really nice and affordable watercolor options. There are plenty to choose from on Amazon and large craft supply store chains. The most essential things you need will be watercolor paper, a pencil, a pen, watercolor paint, a glass of water, and painters tape. You could skip the tape if you would like, but for these designs today I will be using it.

Design and Making the cards.
Once you have your supplies, you can choose your design or copy this one here. For the first card I am just going to draw a super simple outline of heart balloons on a string. I also taped them flat with my painters tape. (Test the tape on a test sheet of paper first to make sure it won’t tear your paper when you remove it.) I just freehanded them really quickly and didn’t try to make them perfect. Just have fun with it, don’t over think it. Imperfection is half of the fun with homemade things. Once you have them outlined you can go ahead and add your paint. I mixed the colors I wanted to use on my palette. If you want to use pink, and don’t have one, just mix red and white. I also mixed red, blue, and white to create a purple. If you want your colors to be lighter, add more water to your paint. After you add your paint to the hearts, let it dry completely. After its dry, you can go in with your pen and outline. Lastly, just add your lettering and voila you did it.


For the second design, I also taped it down and then taped off a section across the middle for my lettering. I went in and added a bunch of hearts of all shapes and sizes. These do not need to be perfect, just have fun. Then, I went in and added some loose lines of paint around my tape. After this dries you can remove it and add your lettering.


These only took me about twenty minutes start to finish and were so much fun. I hope you enjoy creating some of your own as well. Happy painting.


